Introduction
Installing website source code is a fundamental step in launching a website. It ensures that your content and features are correctly deployed and accessible online. The source code includes files like HTML, CSS, JavaScript, and server-side scripts that work together to provide a smooth user experience. Proper installation is crucial for your website’s functionality, security, and performance.
Selecting the right hosting provider is also critical. Hosting stores your website’s data and makes it available online. The hosting environment must be compatible with your source code and provide sufficient resources to handle traffic effectively.
This guide is perfect for those looking to install a new website from scratch or update an existing one with new features. Let’s dive into the process step by step.
Step 1: Access Your Hosting Account
To begin, log in to your hosting account. The process may vary based on your hosting type: shared, VPS (Virtual Private Server), or dedicated hosting.
- Shared Hosting: Most users access their hosting through a control panel like cPanel or Plesk. Simply navigate to your web hosting provider’s website and log in using the credentials provided when you set up your account.
- VPS/Dedicated Hosting: For more advanced environments, you may need to access the server using SSH (Secure Shell). Ensure you have the correct credentials, including the server IP, username, and password.
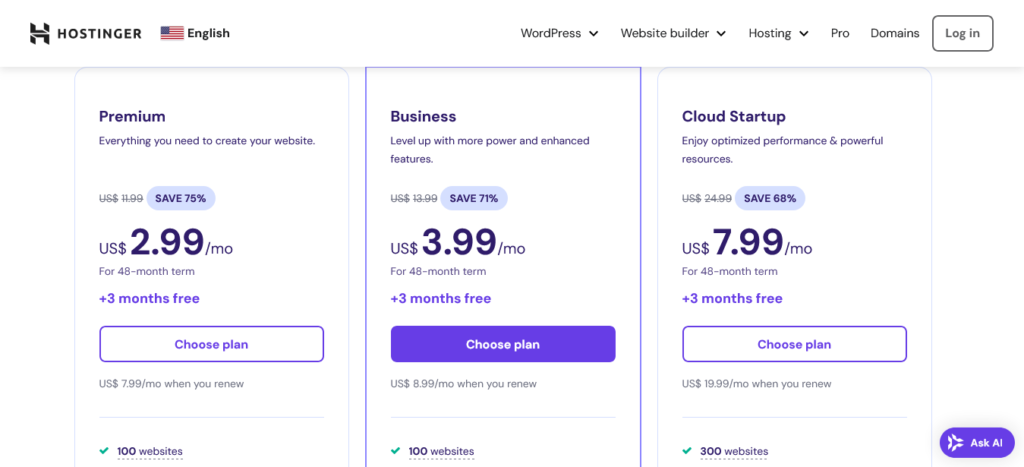
Best hosting ever : Get 71% discount on hosting. https://www.hostinger.in/?REFERRALCODE=1RAHUL87
Once logged in, familiarize yourself with the dashboard. Key tools like File Manager or FTP settings will be vital for the next steps.
Step 2: Select Your Domain
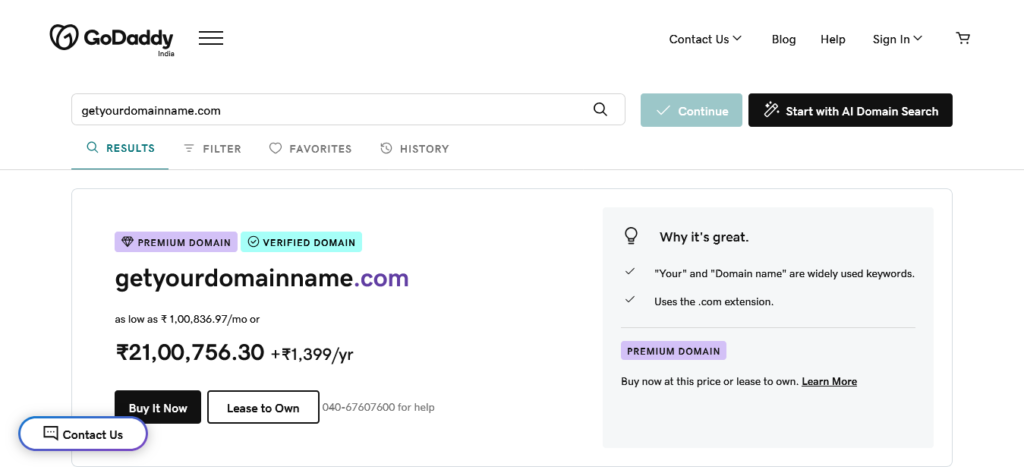
Choosing the correct domain or subdomain is a crucial step. A domain is the main address for your website, while subdomains serve as extensions, often used for organizing specific sections (e.g., blog.example.com).
- Main Domain or Subdomain?: Decide whether to install the source code on your primary domain or a subdomain. This depends on your content strategy and site structure.
- Check Domain Setup: Ensure the domain or subdomain is registered and correctly pointed to your hosting server. Incorrect settings can lead to issues like downtime or site inaccessibility.
Step 3: Open the File Manager
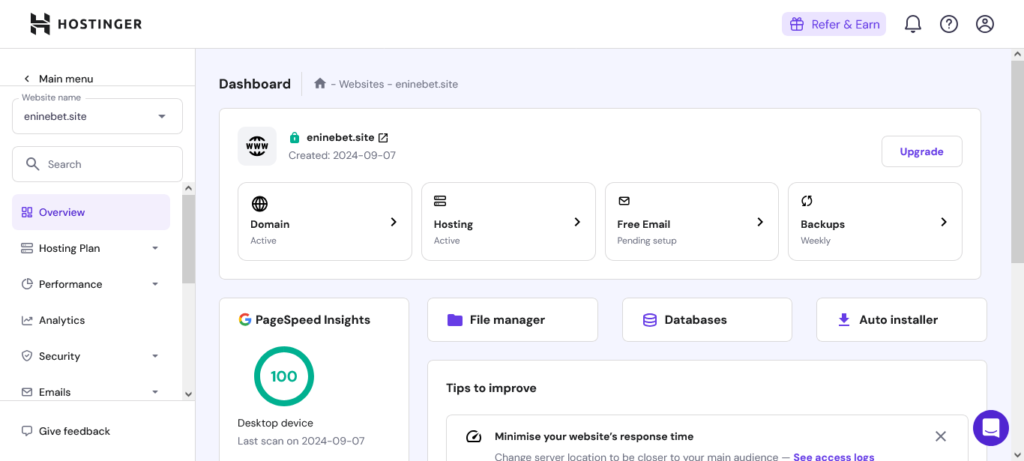
Next, access the File Manager within your hosting control panel (usually under cPanel or a similar interface).
- Navigate to public_html: The public_html folder is where your website’s public files should be stored. Click on it to open the directory. Any files uploaded here will become publicly accessible.
Step 4: Upload Your Source Code Zip File
Now, upload your website’s source code, typically compressed in a zip file. You can do this via an FTP client like FileZilla or directly through the hosting provider’s File Manager.
- Using FTP: If you choose FTP, connect to your server using the credentials provided by your hosting provider. Navigate to the public_html folder and drag your zip file from your local machine to the server.
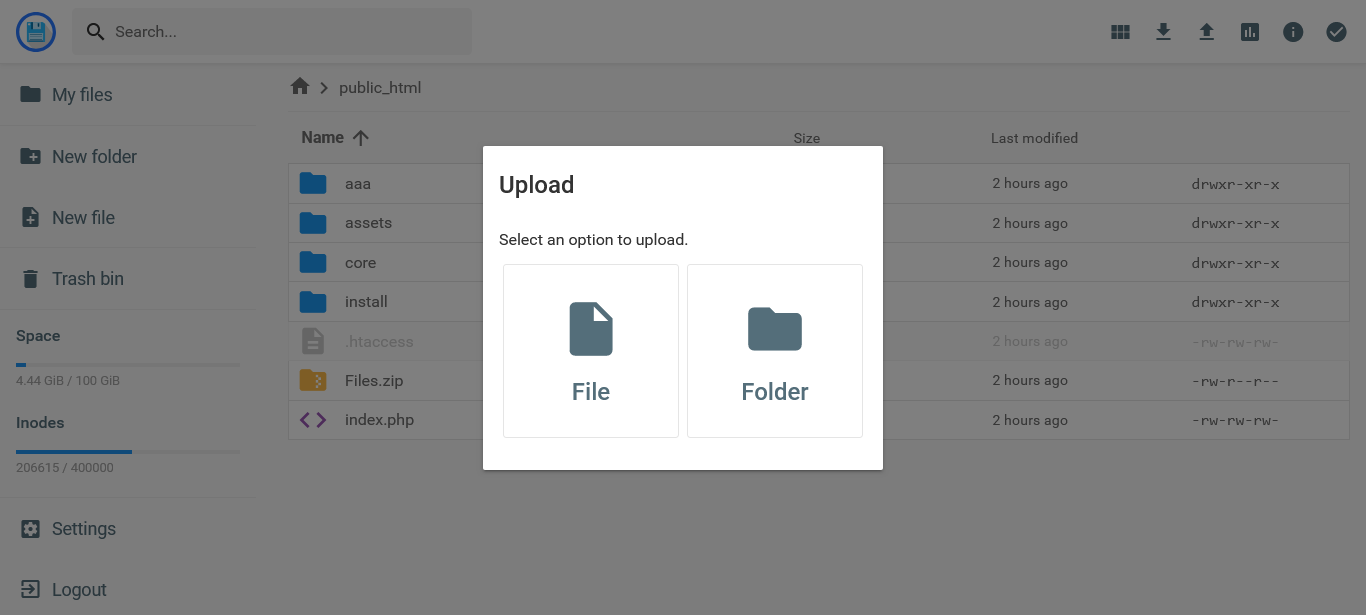
- File Manager: In the File Manager, click “Upload” and select your zip file from your local machine. Ensure you check for any file size limits imposed by the hosting provider.
Step 5: Extract the Source Code
Once the zip file is uploaded, you need to extract it.
- In the File Manager: Right-click the zip file and choose the “Extract” option. This will unpack your files into the public_html directory.
- Using FTP: If you uploaded via FTP, you might need to use additional tools or manually extract the files on your local machine before re-uploading the uncompressed files.
Make sure all files are extracted properly. Missing files can lead to errors.
Step 6: Create a Database (If Required)
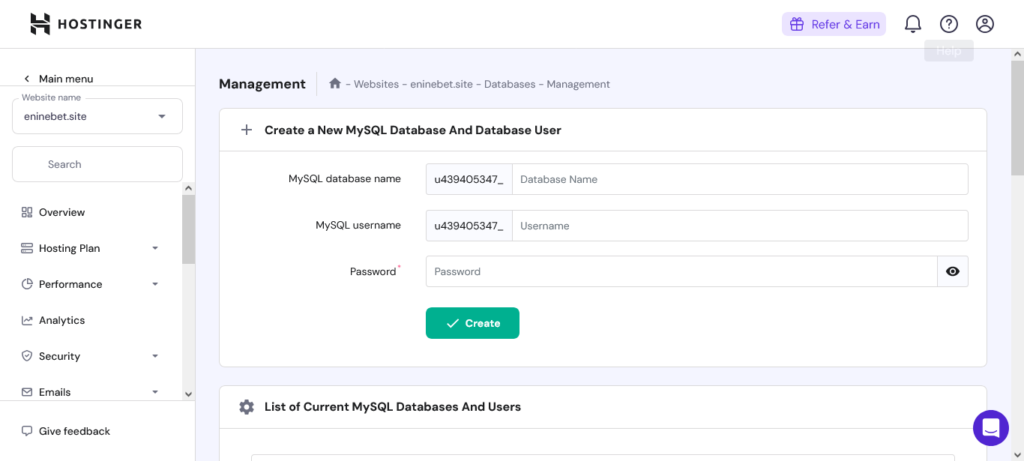
If your website uses a database (e.g., WordPress, Joomla), you need to create one.
- Using cPanel: Go to the MySQL Databases section. Create a new database, a user for the database, and assign the user to the database with proper permissions.
- User Permissions: Ensure the user has the correct privileges (read, write, modify) to interact with the database.
Step 7: Connect Database to Your Code
Now, you need to configure your website’s source code to connect with the database.
- Edit Configuration Files: Open the appropriate configuration file (e.g., wp-config.php in WordPress or config.php in custom applications). Enter the database name, username, password, and host (usually localhost).
Double-check for accuracy, as incorrect credentials will cause connection errors.
Step 8: Finalize Installation and Testing
Finally, run any installation scripts included with your source code. Often, these scripts can be accessed via your browser (e.g., yourdomain.com/install).
- Follow the Instructions: These scripts will configure your website’s database connections and settings. If there are any errors, troubleshoot as needed.
- Testing: After installation, test your website thoroughly. Navigate through pages, check for broken links, and ensure all functionalities work properly.
Conclusion & Troubleshooting Tips
Congratulations! Your website’s source code is now installed on your hosting server. Take time to explore your site and customize it as needed to align with your goals. Common post-installation issues include incorrect file permissions, missing files, or database connection errors. Double-check your steps if you encounter any issues.
If problems persist, consult your hosting provider’s support or online forums for guidance. Continuous monitoring and updating will ensure your website remains healthy and effective over time.
By following these steps, you’ll have successfully installed your website source code, ensuring it runs smoothly and securely.


